VMAXX is among the newest Kodi Video addons, that provide some unique contents which aren’t accessible with the most other addons. Considering that the addon pulls links from YouTube, it is possible to stream videos at high speed with no buffering. There are loads of Kodi addons available for Movies & TV Shows, but VMAXX has committed content such as Pets, Real Stories and much more. The addon can be downloaded in the Rocks Repository. In this guide, we’ll show you how you can set up VMAXX addon on Kodi.
How To Install VMAXX Kodi Addon
Prerequisite: If you haven’t already, you’ll need to enable unknown sources in Kodi. Without taking this crucial first step, the XBMC Foundation does not allow you to install third-party (unofficial) addons.
Also read: How to Install Kodi Bae Repository
Step 1: Open the Kodi app. Click on the Settings (cog) icon on the top left corner of your screen.
Step 2: Open the File Manager from the settings window.
Step 3: Now click on the Add Source option.
Step 4: Then click the <None> option on the Add Source pop-up screen and click the OK button.
Step 5: Enter the VMAXX Repo URL http://www.rockodi.com and click on the OK button.
Step 6: Enter the name of the repository as Rockodi and click OK.
Step 7: Before proceeding further, just check whether the entered URL and name of the repository is correct and then click the OK button.
Step 8: Go back to the main menu (by pressing backspace on your keyboard). Click the Addons option, that you can see on the left side of the screen.
Step 9: In the Addons window, click on the Package Installer Icon located on the top left corner of the screen.
Step 10: Click on Install From Zip File option.
Step 11: Now select the name of the repository Rockodi.
Step 12: Then click the appropriate Zip file repository.Rockcrusher-2.2.zip of the repository and click OK button.
Step 13: Wait until the addon gets installed on your device. Once the installation is complete, you should see a pop-up on the top right corner of the screen.
Step 14: Click Install from Repository option.
Step 15: Click on the Rocks Repository.
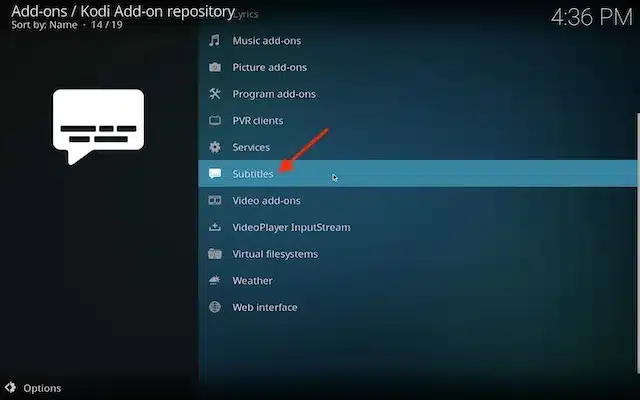
Step 16: Now Open the Video Addons.
Step 17: Click the name of the addon VMAXX Addon.
Step 18: Click the Install button to Install the Addon right on your Kodi Media Player.
Step 19: If you are Kodi 18 Leia user, then you will be displayed with a pop up contains all dependencies and addons, Simply click on OK to install.
And you Done! Now you can use VMAXX Kodi Addon.


