How to set up Apple Pay? In a world full of digital technologies, currencies are shifting towards a more cashless society. Every day, newer paying mechanisms are coming up and are changing the current dynamics of cash systems. From Multinational companies to low-end shopkeepers, everyone is moving towards the digitization era. To blend in the current scenario, Apple Pay is around the new age world for quite some years. With the inclusion of Apple pay, contactless payments can be made possible on many things. Ranging from public transport to sending money to friends, everything can be done at a lightning-fast pace. With more banks supporting such feature the question of “How to set up Apple Pay” is the hot topic of debate.
Also, with the changing Apple’s iOS 11 operating system, peer to peer communications will be possible. Nothing can be a better time to start using Apple Pay than 2018, I bet.
In the current scenario, the majorities of the people have Apple pay but don’t know how to use it. Even, I have met some people who still don’t know how to set up Apple Pay. Hence, in this article, you will know the detailing to set up Apple Pay on your iPad, Mackbook Pro and also Apple Watch. So, let’s get started. Read here to know, Apple is apologizing over slowing iPhones.
What is actually the Apple Pay?
Apple Pay was officially launched in 2014 where it allows users to pay or receive at contactless card readers. The following communication is done using NFC( Near Field Communication). This is a kind of chip which is on an iPhone or an iPhone watch. Also, with the help of Touch ID, you can also make purchases within apps. Sooner, you will also be able to send peer-to-peer payments to Apple’s Messaging app which will be yet another unique thing.
How to use Apple Pay?
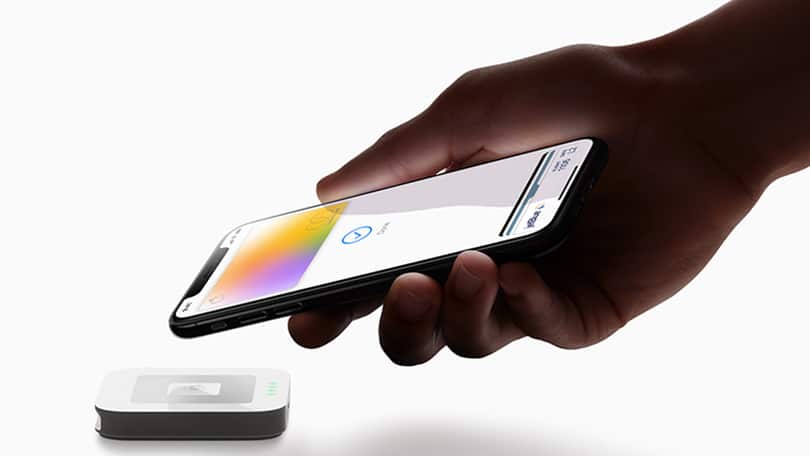
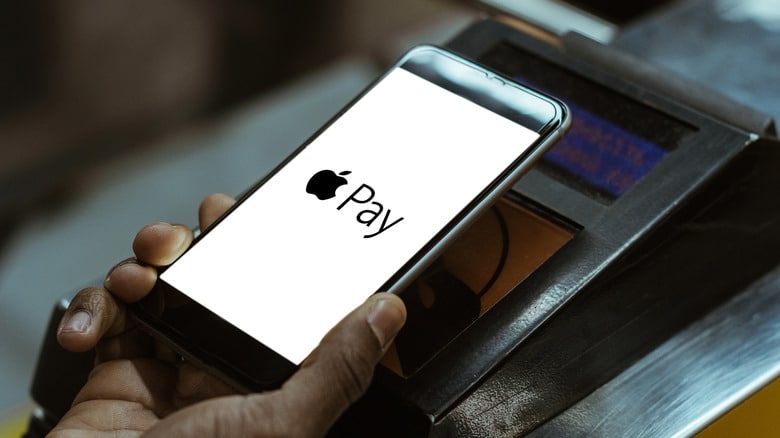
You as an Apple user may have come across plenty of blogs which deploy the steps in using Apple Pay. But, when you actually implement those, you may find yourself in a way of ambiguity and confusion. But, the process is a lot simpler no matter how complex it seems. Using Apple Pay is as simple as getting out your lone credit card. For use, you just need to hold your iPhone near a contactless card reader. This procedure will wake up Apple pay and then just hold your finger to authenticate your purchase. That’s it.
Apple Pay on Apple Watch
Apple Watch being a mere small device, Using Apple Pay on such watch is far easy. If you have an apple watch, follow the following steps:
- At first, click the side button of an Apple Watch to activate your Cards.
- Then, hold your Apple watch close to the card reader.
- In both cases, your respective iPhone will vibrate and a beep sound will come to confirm your payment.
Apple Pay using Face ID
On the all new iPhone X, Apple brought the all majestic Face ID unlock feature. This feature from Apple took everyone to tear apart and made them realize the sheer importance of such security. With Apple pay, payments can be done by facial recognition rather than using the traditional pin security matrix. For doing this follow the below steps:
- In the first step, how your device close to the payment terminal. Doing this will launch the Apple Pay Face ID.
- Then, you will need to look into the device to unlock it using the Face recognition and then confirm the payment. That’s, it, your payment will be done in lightning fast manner.
-
How to Set up Apple Pay on iPhone
At first, before you start with this tutorial, you will need a compatible iPhone to start with the proceedings. If we talk about the current scenario, Apple Pay is available for the following devices:
- iPhone 8/ 8 Plus
- iPhone 7 / 7 Plus
- iPhone 6s / 6s Plus
- iPhone 6 / 6s Plus
Also, the above iPhone devices will also get the iOS 11 updates for sure in the nearby future. Next, follow the following steps to set up Apple Pay on your iPhone.
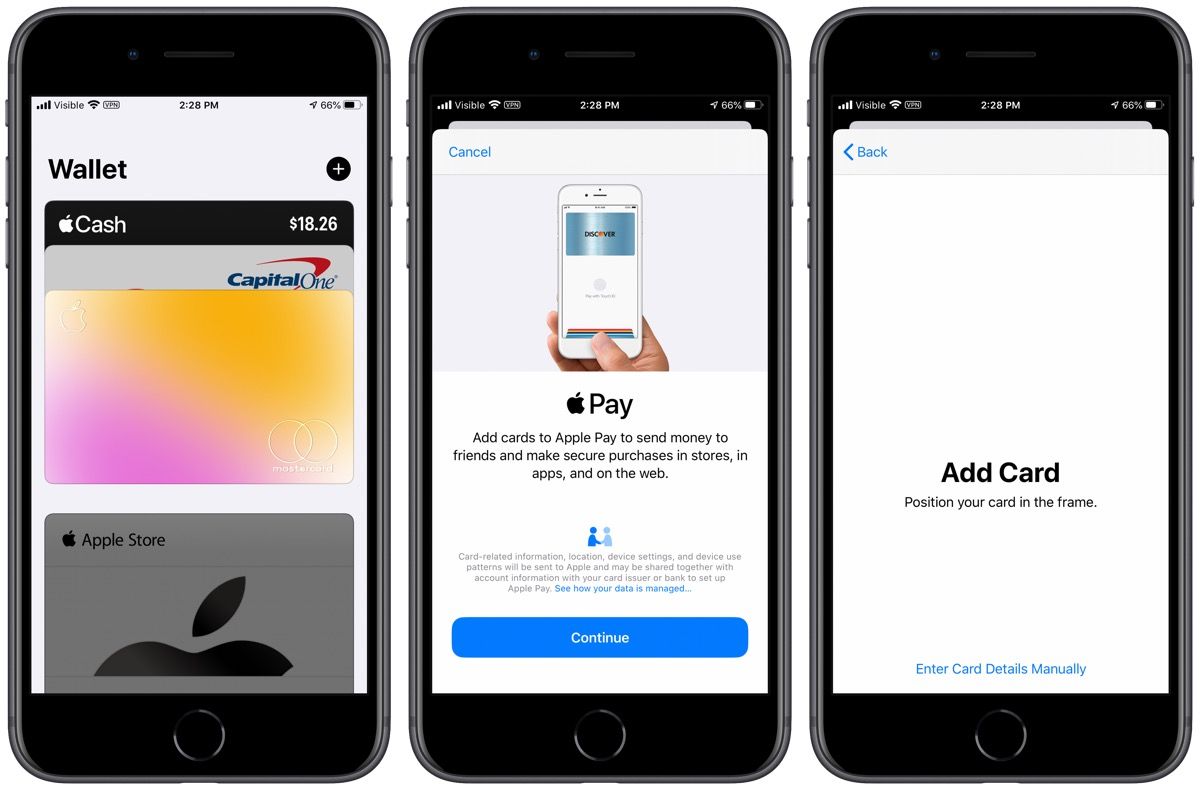
- At first, go to your wallet app and click on add credit card or debit card. Also, you can tap add credit or debit card by just scanning or by entering your confidential information for setting up a new card.
- Then, Apple Pay will prompt you for whom the bank will need to verify your details and other information. As a result, you may need to call your bank for the same purpose.
- Once your bank is done with authenticating your details, click Next and that’s it, you are now ready to use Apple Pay.
-
How to Set up Apple Pay on Apple Watch
Even if you are already using Apple Pay on your iPhone, there will be a need to set it up on an Apple Watch. With Apple Watch, you can find it way more convenient to do online transactions. For your information, you can add up to eight cards on the go which is quite amazing.
- In the first step, Open the Apple Watch App on your iPhone and then click on Select My Watch.
- Select the Passbook and then apply Pay.
- Click on Tap “Add Debit or Credit Card”.
- Apple will ask you to enter the security code of the credit card. However, if you don’t want to use such card, you can choose a different Credit or Debit Card.
- Now, when the camera viewfinder appears, you will need to position your credit or debit card inside the frame.
- The app will scan the card for getting relevant information.
However, in some cases, if the card does not automatically scan, you can also enter the information manually
Once you will perform the above operation successfully, you will receive a notification of Apple Watch. The message will depict that the Apple Watch is ready for Apple Pay.
-
How to Set Up Apple Pay on Mac?
The iPhone and Apple Watch have got Apple Pay and their users are enjoying the lure benefits of Apple Pay. But, now it’s time for Mac to jump into the secure and a connectionless payments era. It doesn’t matter whether you are using an old Mac or are rocking with the all-new Mac Book Pro. Here is a quick guide to set up Apple Pay and manage your Wallet.
-
Set Up Apple Pay on your Newer Mac
Before you actually use the Apple Pay, you will at first need to set it up.
- Open the Safari App.
- Head towards Safari>Preferences.
- Now, tap on the Privacy Tab.
- Choose the Checkbox next to Apple Pay which will allow the websites to prompt you with the payment option.
Set Up Apple Pay on a MacBook Pro with a Touch Bar
If you buy a MacBook with a Touch Bar and a Touch ID, you will get to authenticate payments directly with your keyboard. But, before you perform the below operations, add your Credit Card to Apple Pay. Now, follow the given steps:
- Open System Preferences
- Tap on the Wallet as well as Apple Pay Icon.
- Now, tap on the (+) plus button to add a new credit or a debit card.
- Either you can manually enter the card details or can position your card in front of the iSight Camera for automatic capturing.
- Accept the terms and conditions of your card.
- Later, when your bank will authorize your card, you will finish this task quite easily.
-
Set Up Apple pay on an Older Mac
- Go to the Settings App.
- Click on Wallet and Apple Pay.
- Now, you will need to slide the On/Off switch to Allow payments on Mac.
That’s it, you will now be able to use Apple Pay on your older Mac versions with immense freedom and comfort.
The All new Peer to Peer Apple Pay
- With the all-new Peer to peer Apple Pay feature, a new revolution is about to come in Apple pay functionality. With this feature, you can instantly send and receive payments with your friends and families instantly.
- Also, with the launch of the all-new iOS 11, you can use the Apple Pay Cash feature to instantly pay your different payments.
- Or else, Siri can help you with payments on the go.
Conclusion- How to set up Apple Pay?
Apple Pay is a great and a unique system to implement cash-less transactions and that too at a lightning fast speed. For you as an Apple User, go through the above very much simple steps to set up Apple Pay. Also, share this article with all your friends who are facing the battle of ambiguity in setting up Apple Pay. At last, use such boon as an Apple User, do contactless transactions and give some portion from your side to take ahead the digitization era of the cashless society.
